Proxies give you tons of flexibility – they increase playback and editing speed without forcing you to sacrifice quality, allow you to edit seamlessly on laptops and portable drives, and provide a streamlined project delivery, whether that includes a hand off to a mixer or colorist, or exporting a full quality output for a client. And FCP X makes all of that simple.
Say what you will about its initial release back in 2011, there’s no denying that FCP X was a leader in redefining the proxy workflow – it was the first of the big NLEs to allow for creating and switching to proxies with the click of a single button, all within the application.
At its core, FCP X’s proxy workflow remains incredibly simple – creating proxies is as easy as checking a box upon import. (And if that’s what you’re here to learn, feel free to skip ahead to Importing and Creating Proxies).
But because of FCP X’s unique library structure, how to take proxy media on the go remains a big source of confusion among editors. With a little media management know-how, anybody can take advantage of proxy media’s portability.
By the end of this article, you’ll have a complete understanding of how to manage your FCP X library for proxy success, how to create proxies during or after import, and how to take your portable proxy media on the road.
What are Proxies?
Proxies are lower-resolution copies of your media that are created in one of two ways – either by transcoding raw media to an intermediate codec or by simultaneous in-camera recording, a standard feature on many high-end cameras.
Editing with proxy media is commonly referred to as an “offline edit,” while the process of relinking back to the full-res media at the end of a project is called the online edit. FCP X’s proxy workflow essentially combines the two, allowing you to effortlessly switch between offline and online with one click.
A previous article explains in detail why using proxies is awesome and how they fit into an overall postproduction workflow. Here, we’re going to dive into the details of how FCP X deals with proxies.
So how do we get started? First, we need to understand how FCP X manages our media.
FCP X Library and Media Management Overview
If you’re an FCP X editor, you likely have an understanding of how FCP X references and manages media. But a successful proxy workflow requires a specific storage setup, so let’s review.
In FCP X, you organize your work in libraries. A library contains events and projects and tracks all your media files, edit decisions, and the associated metadata.
Let’s take a closer look:
- Libraries are the top-most level of organization and hold all of your events, projects, and often, your media. You can have as many libraries as you’d like, with the option to open and close them within FCP X as needed. You can save a library wherever you’d like and can migrate events and projects from one library to another. Libraries contain all of the information relevant to your edit, wrapped into one file on your hard drive. They’re similar to what other NLE’s call project files, except that libraries are capable of holding your media as well.
- Events are stored within libraries, and every library must contain at least one event. I find that it helps to think of events like folders, since events hold and organize your media within your library. For example, on a feature film, I may create separate events for each shoot day’s dailies. For a short form project, I may label events based on camera media cards. You may also have separate events for your music or graphics.
- Projects are the lowest level of organization in FCP X and are housed inside events. “Project” is synonymous with the terms “timeline” or “sequence” used in most other NLE’s.
By design, FCP X can manage all of your media for you, including camera media, proxy media, render files, and anything else you import, in a single place – the library.
This is a powerful feature and can be useful in many situations, like if you intend to edit your project on a single computer or hard drive from start to finish. And if that is your situation, go ahead and adapt your storage setup to meet your own needs.
But we want the freedom to both take our smaller, lightweight proxy media on the go to and to work off a lower powered laptop without sacrificing performance. To do that, we need to retain control over the locations of our original camera media and our proxy media.
FCP X recognizes these different storage needs and allows for two types of media management:
- Managed media refers to media that you let FCP X manage for you. In most cases, this means that you copy your media into FCP X’s library structure and let it handle the organization from there.
- External media refers to media that you manage yourself. In most cases, this means that you organize your media on your hard drive as you see fit. When you import it, you tell FCP X to simply link to it, rather than copy it into the library structure. If you’re familiar with Adobe Premiere or have used FCP 7 in the past, then you’re likely more familiar with external media management.
To fully understand this concept, let’s break down the structure of an FCP X library.
Library File Contents
This is what an FCP X library file looks like on your hard drive.
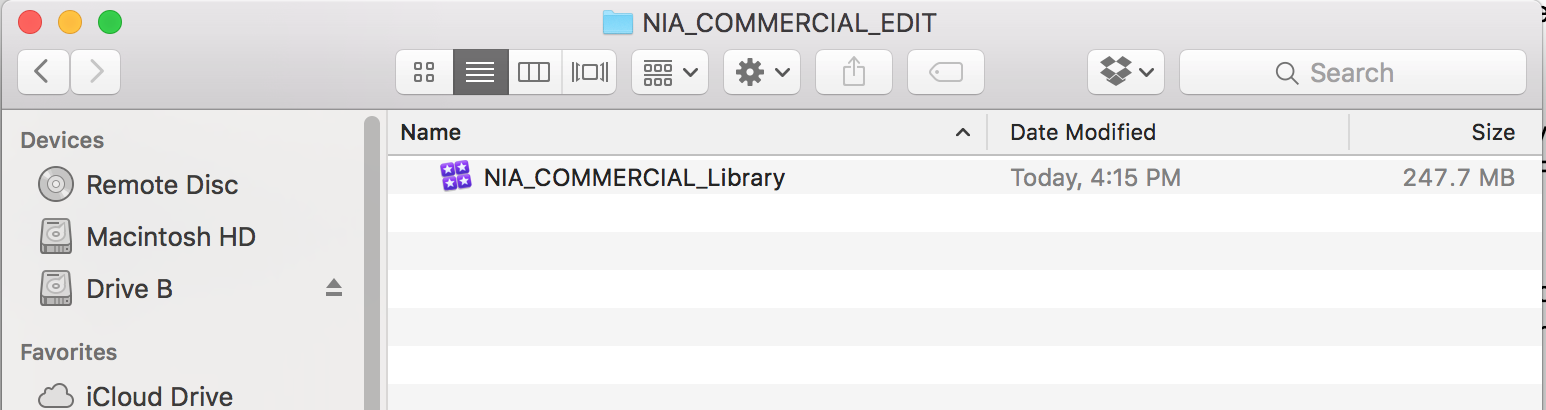
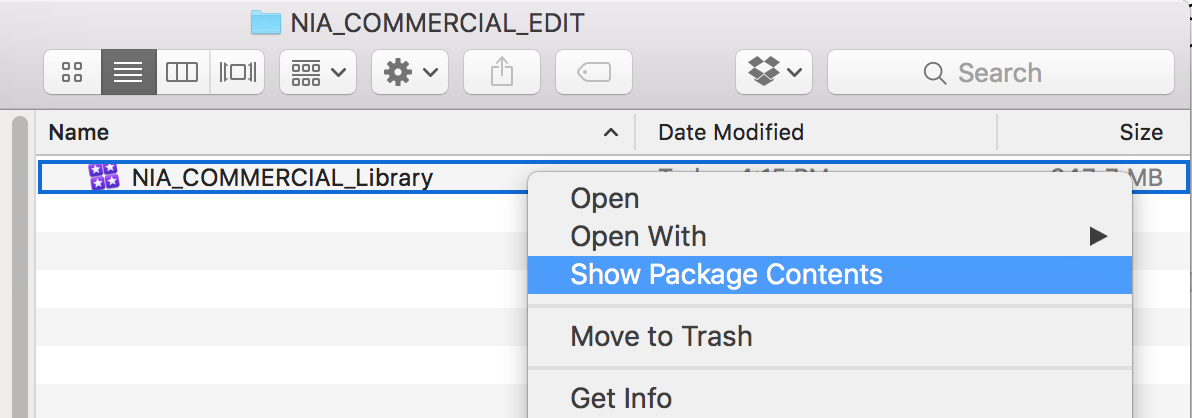
Though it looks like one single file, it actually contains many other folders and files within it. If you right click on a library file and select Show Package Contents from the context menu, the library will open like any other folder.
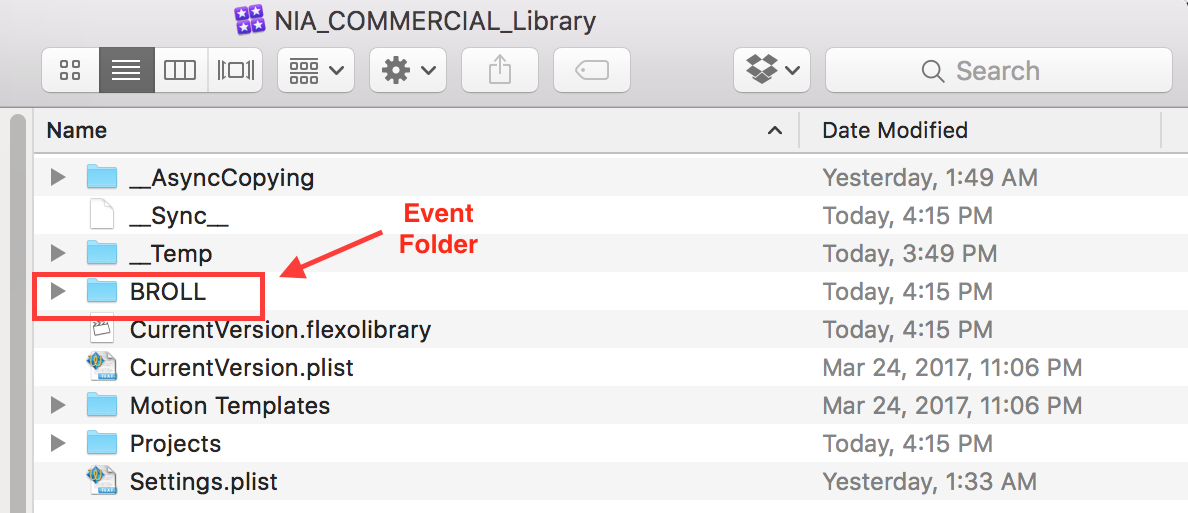
Inside, we can see a few metadata files and folders that we generally don’t need to touch.
We’re interested in the corresponding folders for each event that we created in FCP X. In this case, I have one event called BROLL that I created in my FCP X edit and then imported my broll footage into. If you have an event called Wedding Ceremony in your edit, then you’ll find that folder here as well.
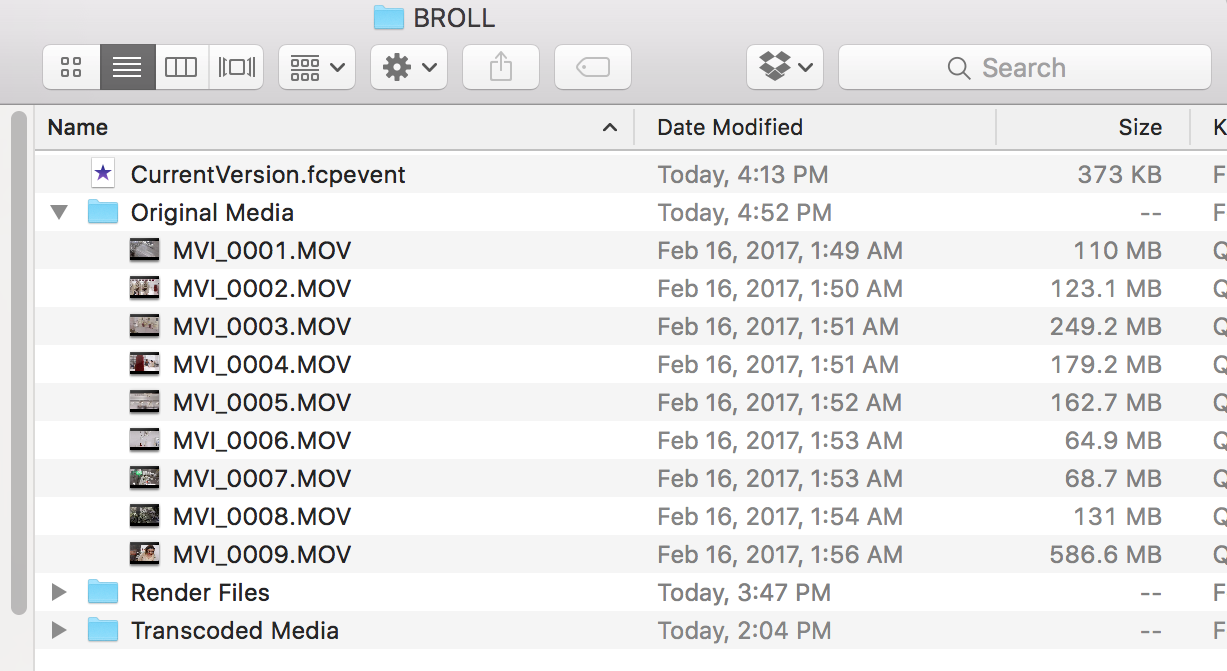
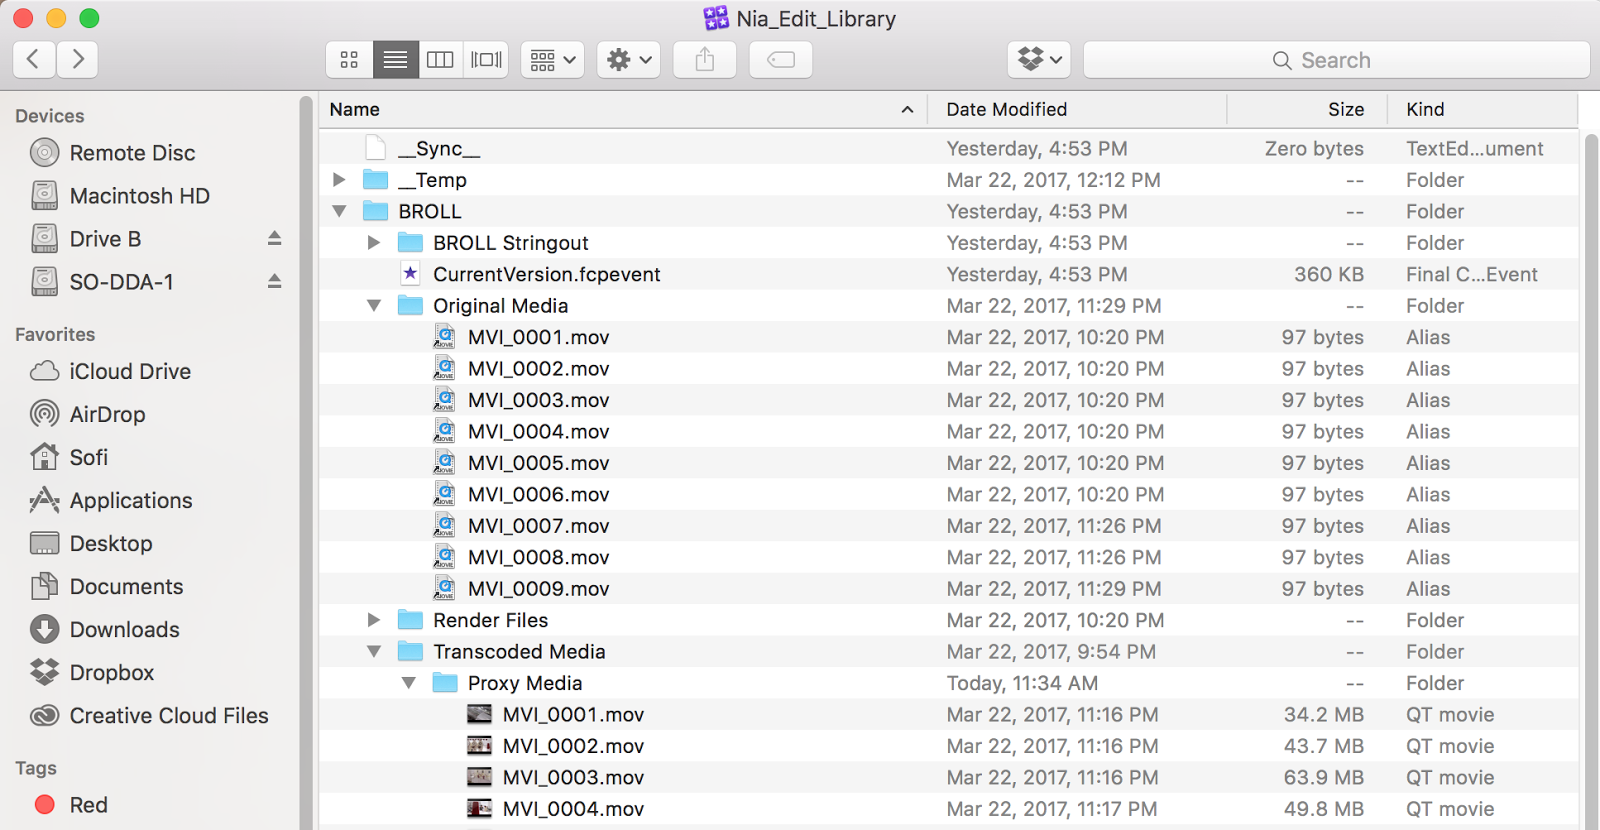
If we open up any event folder, we’ll see additional folders for Original Media, Render Files, and Transcoded Media.

The Original Media folder is where FCP X stores our imported media. The Transcoded Media folder is where FCP X will eventually store our proxy files.
This is an image of a managed library. All of the camera media is right here, in the Original Media folder.
By contrast, this is an image of a library with external media.
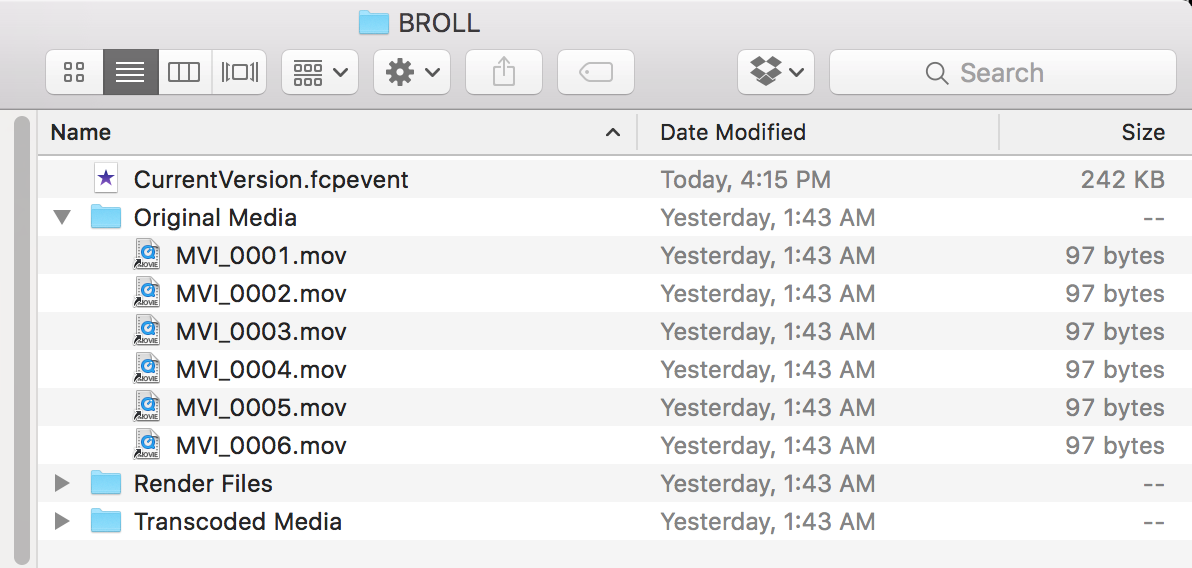
Note the little arrow icons in the bottom left corner of our media clips. Those icons mean we’re looking at files called symbolic links or symlinks for short. Symlinks tell FCP X that our media is stored externally and act as pointers to that location. You can also tell that these are pointers rather than the actual media, because they are very small files (97 bytes).
To give us ultimately flexibility for our proxy workflow, we’re going to use a combination of external media (for our high resolution camera files) and managed media (for our proxy files).
Ultimately, we want our library to look like this, with external media in the Original Files folder and managed media in the Transcoded Media folder.
For now, let’s focus on our original, high resolution camera media – our external media.
For most professional level projects, maintaining the camera media’s original file structure is imperative. Breaking that file structure can be detrimental for sharing edits between FCP X and other programs like DaVinci Resolve.
We don’t want FCP X to manage this media for us unless we’re sure that the entire project will only ever live in FCP X.
Organize Your Media on Your Hard Drive
Before we even open up FCP X, let’s do a little media housekeeping. First, I strongly suggest you organize your entire edit into a single container folder, and then organize all of your camera media into its own container folder.
For example, the footage you’ll see in the screenshots throughout this article comes from a commercial shoot for a fashion line called NIA. My top-level folder is named NIA_COMMERCIAL_EDIT and immediately inside, my camera media container folder is named NIA_CAMERA_MEDIA. All of my camera media gets copied directly into this folder, with as many subfolders for shoot dates, camera cards, pickups, etc., as needed.
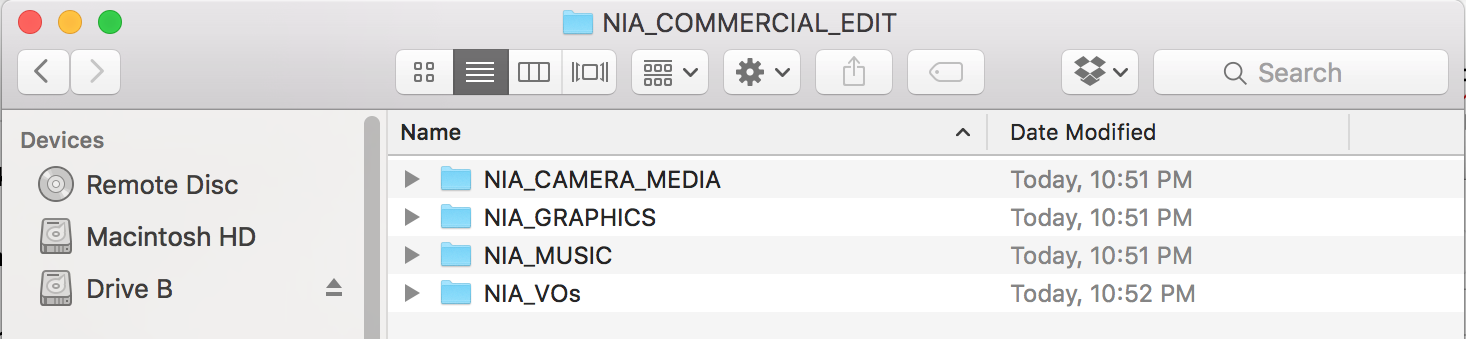
Generally, I create similar folders for graphics, music, voiceovers. That way I know where everything is at a glance.
Once you’ve got your camera media organized, it’s time to create the library that we’ll work out of.


