This month, I’m editing an independent feature film that’s shooting in New York.
I also live in New York.
Yet, we’re using a remote dailies workflow and delivering each shoot-day’s footage digitally.
Why?
Because even when you’re in the same city, delivering dailies digitally can save time, money, and hard drive space, with the added benefit of allowing you to share dailies and easily collaborate with your team.
Rather than hiring runners or a courier service, a properly designed digital dailies workflow can get your editor the files they need with a simple upload, even on a standard or unreliable internet connection.
So how do you design a workflow best suited for your project? Let’s first go over some of the major workflow components, then we’ll dive into some real world examples to help show you how to put it all together.
But first, a quick word on how to think about workflow.
A Workflow is Always Evolving
I attempted to order the topics in this article logically, but for the optimal remote dailies workflow, it’s really best to try to consider all of these different aspects and needs at once.
As you read through and digest these workflow puzzle pieces, consider how changing one might affect the others.
I’ve found that one way to successfully approach a workflow is to always keep the end goals in mind. Is your top priority getting files to the editor as quickly as possible? Or is sharing synced dailies with a specific LUT applied to a high level producer your end game?
Just as important, make sure you’ve started an open dialogue with all of the post-production team members who will be affected by the workflow. You may not always think of a small change that has a big impact for the colorist if you’re more of an editor.
As you become more experienced and lock in tried-and-true methods, make sure to remain open to new ideas. Don’t just recycle old habits because they’re familiar.
Now, let’s get started!
Internet Connection
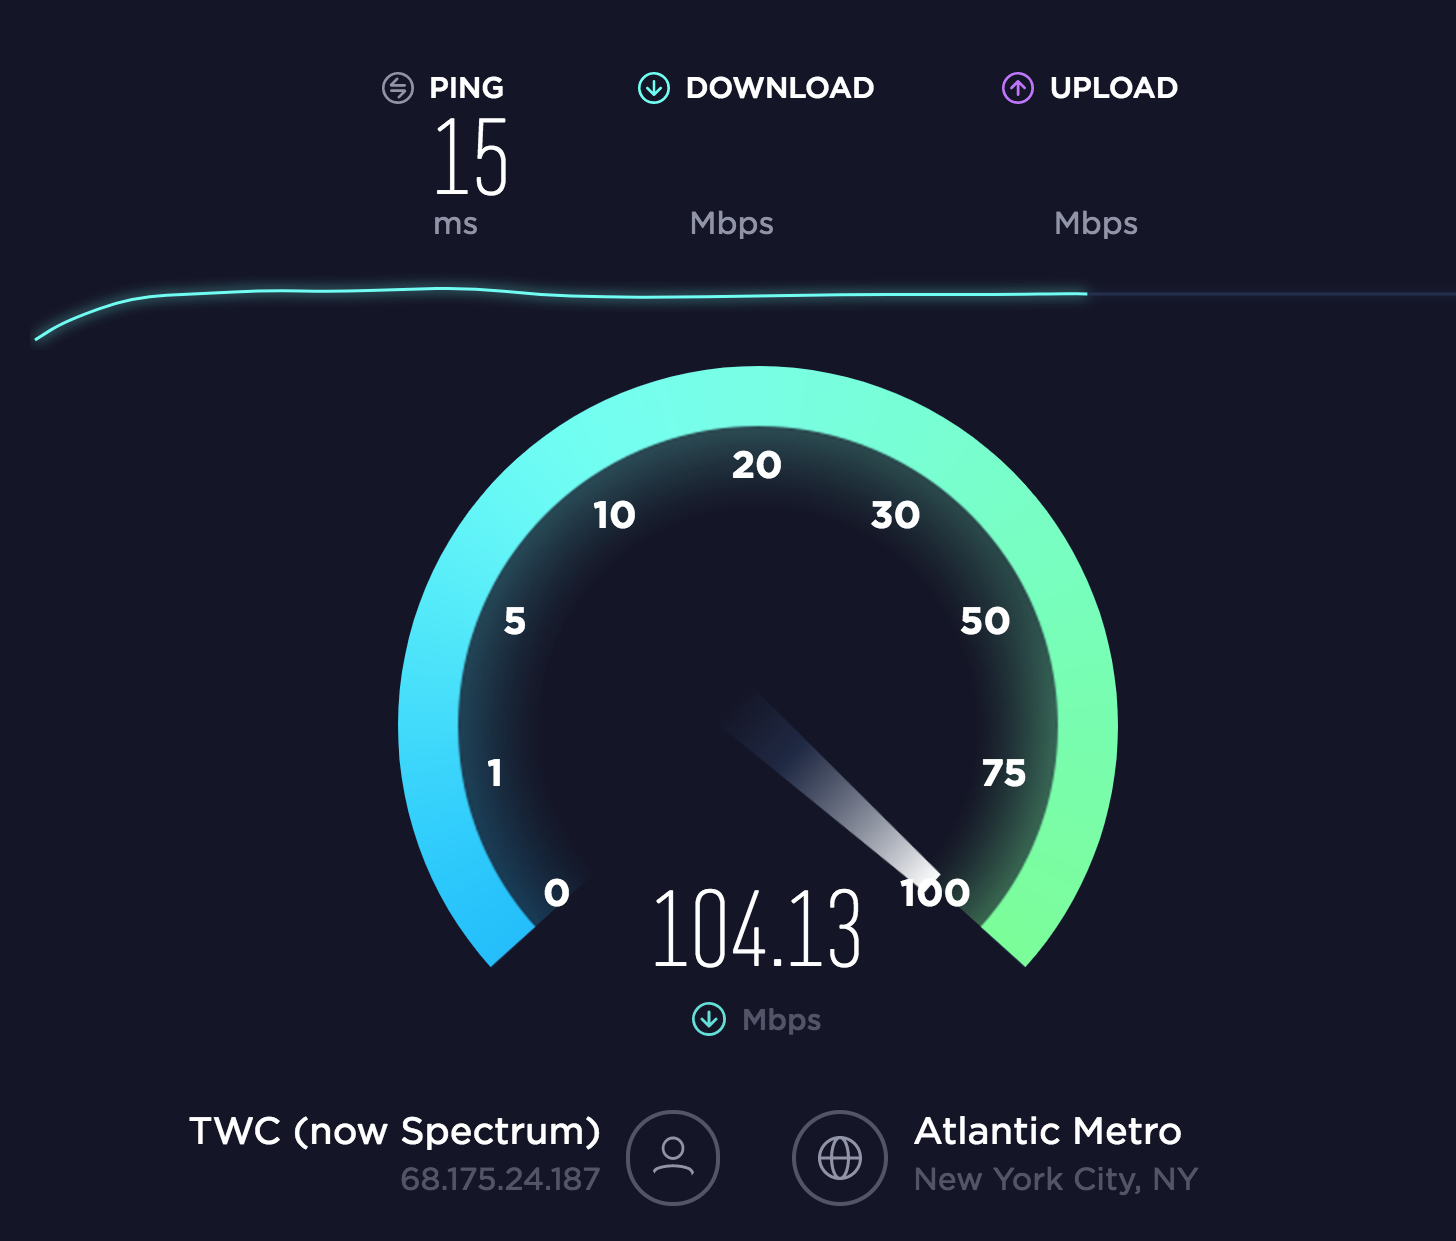
While it’s really not necessary to have a lighting fast internet connection to take advantage of uploading dailies (though it helps!), it’s useful to know what you’re working with.
Get an understanding of your upload and download speeds with a website like SpeedTest and then run a few real world tests of your own.
Upload some files to your chosen dailies server and time how long it takes. See what happens if you upload in batches versus all at once, or if the uploads stall out and have to be restarted with connection disruptions.
Give it as real a test as you can, either with similar footage from a past project, or by asking for some sample footage. Try to replicate a typical day’s worth of files so you know exactly how long it’ll take. The Simple Formula to Calculate Video Bitrates can help you calculate projected file sizes based on your dailies footage.
If you’re on the production team, it’s also a good idea to check in with your editor and make sure they’ve got a reliable connection. Downloading is typically much faster than uploading, so they’ll have an advantage even with slower speeds, but loop them in on your test and make sure there are no issues on their end.
Once you have an idea of your upload speeds, you can begin to make adjustments to your dailies’ resolution and codec to maximize your upload/download time.
Camera, File Type, & Resolution (Frame Size)
The footage that you’re starting with will determine a lot about your remote dailies options.
If you’re shooting in 4K, you’ll likely want your dailies to fall somewhere in the 2K to HD range, unless your project is very short or your internet connection extremely fast.
Talk to your director of photography about the camera’s capabilities. Many high–end cameras have the ability to record proxy files alongside the raw footage and those proxies can be an excellent choice for dailies.
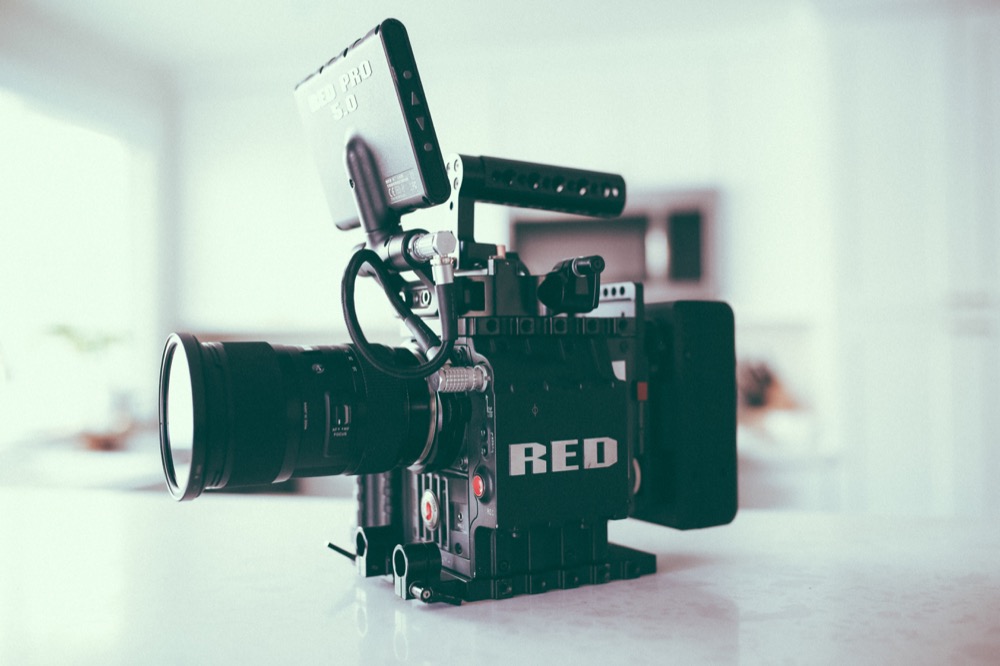
For example, RED cameras can record in any of the different ProRes formats. On RED projects, I usually request 1920×1080 ProRes Proxy or ProRes422 as the in-camera proxy format, knowing that I’ll use these files for dailies.
This can be a huge time-saver because it can allow you to skip the next step, transcoding dailies.
Transcoding Dailies
If your camera doesn’t natively support proxies, you can always transcode your RAW footage into an edit-friendly codec.
If you’re on the production team, always discuss choosing a frame size and codec, with your editor. An editor may have a computer capable of editing 4K, but may prefer 2K files to save on disk space and get even better performance.
Or you might have an editor who prefers to be mobile, making HD dailies the right choice, both for greater performance on laptops and significantly less disk space requirements.
For a complete breakdown of codecs and which to choose for the edit, check out How to Choose the Right Codec for Every Project.
Or, Compare 50 Intermediate Codecs on One Page with this interactive database.


